Welcome to the intricate and precise world of manual metal engraving, where traditional tools forge timeless artwork. In this exploration, we delve into the diverse array of hand-held instruments craftsmen use to inscribe metal with designs and text that stand the test of time. From gravers to scribers, each tool plays a vital role in achieving the finesse and detail that characterizes this age-old practice. Join us as we unveil the essentials of manual metal engraving tools, an art that seamlessly blends skill with a touch of history.
Table of Contents
Understanding Manual Metal Engraving Tools
In order to understand the context of manual metal engraving tools, one must consider the materials being engraved upon, the desired outcome, the precision required, and the skill level of the engraver. Common metals used in engraving include gold, silver, copper, brass, and steel. Each of these materials has a different hardness level which dictates the type of tools used. Here’s an overview of the most common types of manual metal engraving tools:
1. Engraving Chisels: The Sharp Edge of Creativity
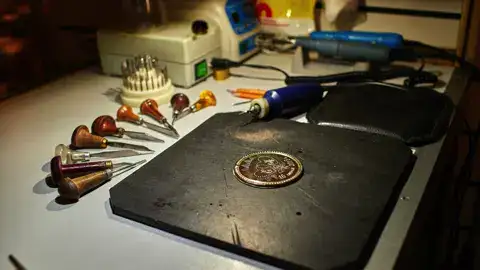
Engraving chisels, or burins, sit at the core of traditional manual metal engraving, crafted from premium, hardened steel with precise cutting edges crucial for carving designs into metal. The type of burin chosen affects the texture and detail level in the final piece. The diamond-shaped burin is particularly prized for its ability to etch fine lines and detailed patterns accurately, making it a favorite among artisans who prioritize detail.
Square and round burins also have their merits, producing unique textures and allowing variations in line thickness that enable a wide range of artistic expression. It is an engraver’s proficiency with these instruments that elevates a simple piece of metal into a meticulously crafted art piece, reflecting the craftsman’s expertise and commitment.
2. Gravers: Crafting Elegance
Gravers are essential tools for craftsmen who practice manual metal engraving, an art that requires precision and skill. These tools are somewhat similar to chisels but are specifically designed for fine detail work. The handle of a graver is shaped to fit comfortably in the artist’s hand, which helps maintain a steady, controlled force when pressing the tool into metal surfaces like silver, gold, or steel. As the artisan uses the graver, they meticulously carve out tiny pieces of the metal, creating strokes that build up to form detailed patterns or images as envisioned by the artist. This process is both focused and calming, with each movement of the graver contributing to the overall design.
3. Hammers: The Delicate Dance
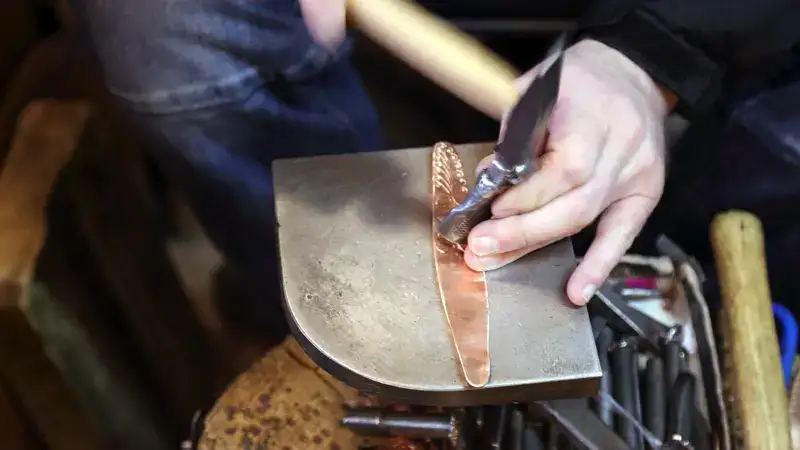
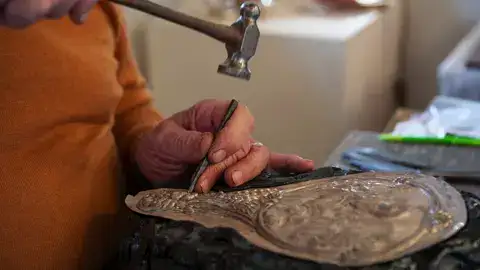
In the set of manual metal engraving tools, hammers, especially the smaller lightweight ones, are crucial for artists. These light hammers are typically used together with sharp punches or chisels to inscribe and shape decorative patterns onto metal. The hammer’s precise strike on the engraving tool creates a distinctive texture on the metal’s surface, allowing artists to produce elaborate and captivating designs. Beyond embellishing the surface, these techniques are also employed in a more traditional metalworking method called chasing. Chasing involves carefully hitting an engraving tool with a hammer to form either raised or indented artwork, adding three-dimensional detail and bringing the piece to life.
4. Scribers: Masters of the Etch
In the art of metal engraving, the scribe is as crucial as a pen in drawing. Made of tempered steel with a sharp point, the scribe allows artisans to draw precise initial lines on the metal surface. These lines are vital for guiding the more in-depth engraving work that follows, outlining where to carve. With careful pressure, the scribe traces fine lines that can evolve into complex designs or form basic outlines for lettering. This initial step is important since it helps prevent permanent errors before deeper engraving methods are applied. It creates a template that informs the eventual artistic detail and beauty of the finished piece.
5. Pneumatic Engraving Tools: Old Meets New
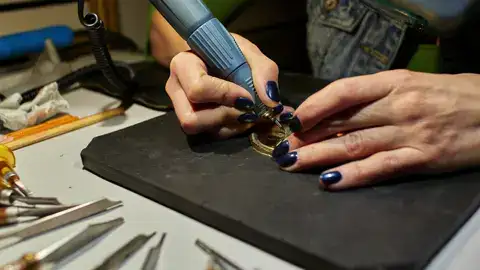
Pneumatic engraving tools are a hybrid of hand-operated and automated engraving technologies. These tools operate with the help of compressed air which propels the graver—much like an engraving chisel—thus providing more force and consistent motion than pure muscle strength alone. Even so, the artist’s hand is essential for control, as they must still meticulously steer the tool to create intricate designs on metal surfaces. This blend of human touch and mechanical aid makes it possible for artists to work longer without the fatigue common to traditional engraving, facilitating the creation of detailed and intricate artworks that might prove too challenging by hand alone.
6. Scorpers: Mastering Metal Engraving
Scorpers are essential tools in manual metal engraving, widely used for their effectiveness in shaping and detailing metal surfaces. These small chisels are carefully designed with specific shapes to accommodate different artistic needs – from quickly removing large amounts of metal to creating bold lines that define a piece. Thanks to their distinct design, scorpers offer high control and adaptability, making them crucial for expanding the possibilities in metalworking. Equally useful for coarse shaping and fine detailing, these instruments are key to producing textures and patterns on various metals.
7. Burnishers: From Mundane to Magnificent
At the core of the detailed craft of metal engraving are the burnishers, which play a pivotal role following the initial etching of designs into metal. These tools, with their smooth, carefully shaped rounded tips, are critical for refining the engraved work. They are smoothly run over the etched grooves to exert just the right amount of pressure that polishes and gives the metal surface a shiny finish, while removing any residual unevenness left from earlier engraving stages.
This polishing step not only elevates the visual attractiveness by making each engraved line reflect light beautifully but also ensures the metal feels smooth to the touch, free from any sharp edges. Burnishers thus act as indispensable partners to engraving instruments, jointly delivering the finished product of a beautifully crafted metal engraving.
8. Spitsticks: Crafting Clarity and Detail
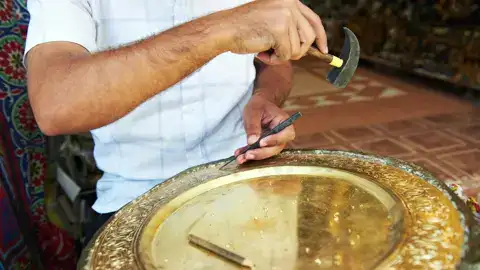
In the field of manual metal engraving, a key tool known as the spitstick is essential for creating detailed work. The spitstick is easily recognized by its fine point and distinctive curved blade, both designed to offer the engraver precision and control over their work. This tool is crucial for etching clean, sharp lines within an engraving. Due to its design, it can handle both complex patterns and simpler, broader lines. The spitstick plays a critical role in metal engraving, enabling artists to produce clear, detailed, and professional-grade engravings.
9. Liners: A Stroke of Genius
A liner has multiple pointed tips arranged closely together so that when an engraver drags the tool across a metal surface, it carves multiple parallel lines simultaneously. This method speeds up the engraving process and allows the creation of textural details and graduated shading with exceptional consistency and precision. Artists can produce various line thicknesses and patterns by varying the pressure and angle of the liner, adding depth to their work. Liners revolutionize manual metal engraving by providing craftsmen with an efficient way to add complex details and subtle variations in their designs. This enhances both the visual beauty and the tactile quality of the final piece.
10. Dot Punches: Crafting Texture and Grip
Dot punches are crucial tools for manual metal engraving, renowned for their straightforward design and efficiency. A skilled engraver uses these tools with a hammer to create a series of small indentations on the metal surface, which results in a detailed pattern of dots. This pattern enhances the metal’s tactile feel and visual appeal. The consistent hammering on the punch delivers extraordinary control and precision to the engraver, enabling the creation of uniform textures across various items. These tools are not only valuable for their decorative purposes but also practical for adding a non-slip surface to metal items such as hand tools or weaponry.
11. Magnification Tools: Seeing Every Detail
Manual metal engraving is a meticulous process that relies heavily on the engraver’s keen attention to detail. This traditional practice turns a plain piece of metal into an intricate piece of art, where every stroke counts and the uniform patterns stand out. However, achieving this level of detail can be challenging to the naked eye, which is why magnifying tools are crucial. Magnifying glasses or optivisors act as an integral part of the engraver’s toolkit, enhancing vision so that imperfections invisible to the bare eye—like uneven lines or less-than-smooth surfaces—can be spotted and refined. These adjustments are key to mastering the art of metal engraving.
12. Sandbags and Engraving Blocks: Stability Meets Versatility
Precision metal engraving demands not just expertise and a meticulous touch, but also a stable workspace to guarantee accurate results. Stability is achieved when a secure hold meets the metal, which is crucial for exact engraving. Sandbags and engraving blocks are essential tools that provide this stability, each in their unique way, ensuring artisans can produce intricate designs with confidence.
Sandbags offer remarkable support due to their ability to mold around the shape of various items, establishing a soft but stable base. This flexibility allows engravers to work with different shapes without the object sliding or shifting. The sandbag serves as a dampening buffer, absorbing any vibrations that could interrupt detail work.
Engraving blocks, on the other hand, are similar to vices and are best suited for securing flat pieces firmly in place. Each block is designed with precise engineering to enable 360-degree rotation of the workpiece. This is particularly beneficial for engravers as they can easily access every angle of the item without having to reposition themselves or suffering from discomfort during extended periods of focused work.
Manual Metal Engraving Techniques
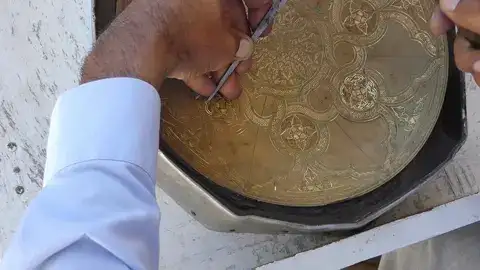
There are two main techniques used in manual metal engraving: line engraving and relief engraving, which is also known as chasing. Line engraving is a meticulous process where an engraver must have a steady hand and keen eye for detail, as this method involves drawing continuous, unbroken lines along a precise path to form intricate designs. This technique does not involve removing excess material outside the artwork’s border, emphasizing clean precision.
On the other hand, relief engraving or chasing is a technique where the background material is removed to leave the design elements raised above the surrounding surface. This creates a striking visual effect where the design appears to rise from the metal, and provides a unique texture that can be felt. Both line and relief engraving require great skill and patience but produce highly detailed and sophisticated pieces that honor the traditional craftsmanship of metalworking.

The Bottom Line
Manual metal engraving goes beyond mere decoration; it perpetuates a rich heritage of skilled artisanship. These indispensable tools are designed for both beginners and experts, enabling them to infuse their individuality into each piece they craft. Whether you are engaged in personal pursuits or professional projects, having these fundamental engraving tools allows you to etch your distinct legacy into each piece of metal you work on.
